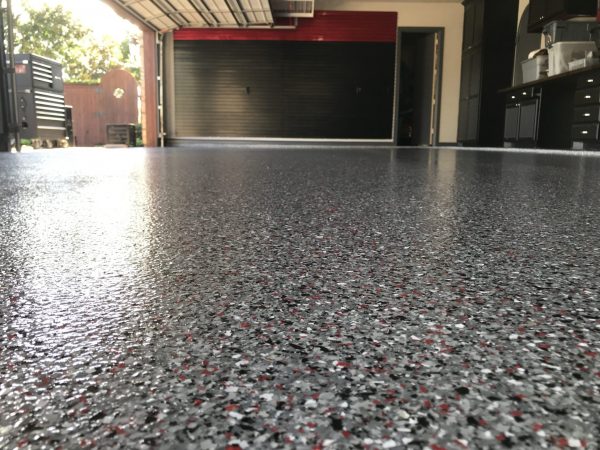
Cracks in your garage floor can be a frustrating sight, but they don’t have to spell disaster! Many Cincinnati homeowners wonder: why do garage floors crack over time, and more importantly, how can you fix them permanently? The answer lies in using professional epoxy coatings, which not only repair cracks but also prevent new ones from forming. Below, we break it all down for you.
Why Do Garage Floors Crack Over Time?
Garage floors go through a lot — and we mean a lot! Here’s why they’re so prone to cracking:
-
Heavy Loads: Cars, motorcycles, lawn equipment, and tool cabinets can put major stress on the concrete.
-
Temperature Swings: Freeze-thaw cycles in Cincinnati cause the concrete to expand and contract.
-
Moisture Intrusion: Water from rain, snow, or humidity can seep into concrete, weakening it over time.
-
Chemical Spills: Oil, gasoline, and de-icing salts can corrode the surface, leading to cracks.
-
Foundation Settling: As your home ages, the foundation shifts slightly, which can transfer stress to the garage floor.
Even hairline cracks can worsen if ignored, allowing moisture and chemicals to penetrate deeper, accelerating damage.
How Does Epoxy Coating Repair and Prevent Cracks?
Epoxy coating is more than just a pretty finish — it’s a protective armor for your garage floor. Here’s how it helps:
-
Seals and Reinforces: Epoxy fills existing cracks and bonds to the surface, reinforcing weak spots.
-
Prevents Moisture Intrusion: Its non-porous surface blocks water and chemicals from seeping in.
-
Resists Impact and Stress: Epoxy is flexible enough to handle minor shifts, preventing new cracks from forming.
-
Enhances Longevity: With proper care, an epoxy-coated floor can last 10–20 years or more.
If you want your garage floor to look sleek and last long, check out Gramer Flooring’s epoxy coating services — we specialize in transforming cracked concrete into durable, beautiful surfaces.
Step-by-Step Guide to Fixing Cracks Before Applying Epoxy
Want to know how the pros do it? Here’s the process Gramer Flooring follows to ensure a flawless finish:
-
Inspect the Cracks
-
Measure the width and depth: hairline cracks (< 1/8 inch) may need light filling, while larger cracks require heavier repair.
-
Identify causes (e.g., moisture, settling) to prevent future issues.
-
-
Clean the Area Thoroughly
-
Remove all dust, dirt, oil, and debris using a pressure washer or degreasing agent.
-
Scrape out loose or crumbling concrete.
-
-
Fill the Cracks
-
For small cracks, apply epoxy crack filler or injectable epoxy.
-
For wider or deeper cracks, use an epoxy mortar mix combined with silica sand for extra strength.
-
-
Smooth the Surface
-
Use a trowel or putty knife to level the filler.
-
Allow sufficient curing time as per product instructions.
-
-
Prep the Entire Floor
-
Diamond grind or shot blast the surface to create the right texture for epoxy bonding.
-
Vacuum thoroughly to remove all dust.
-
-
Apply the Epoxy Coating
-
Start with a primer layer for maximum adhesion.
-
Follow with the base coat and optional decorative chips or color flakes.
-
Finish with a clear topcoat for extra durability and shine.
-
DIY kits often skip critical prep steps — that’s why hiring experienced epoxy flooring contractors like Gramer Flooring ensures the job is done right the first time!
Ready to Repair Your Garage Floor?
Don’t let cracks turn into costly repairs! Trust the experts at Gramer Flooring to give your garage floor a seamless, long-lasting epoxy finish that’s built to handle Ohio’s toughest conditions.
Call us today at 859-663-7678
Visit our website for a free quote
Find us on Google Maps
Your garage deserves the best — let Gramer Flooring help you protect it for years to come!
