What to Expect During a Hardwood Floor Installation
Get the details on what to expect during a professional hardwood floor installation. We go over the process, timeline, materials and more in this comprehensive post.
What to Expect During a Professional Hardwood Floor Installation
Installing hardwood flooring can be a big undertaking that adds a lot of value both functionally and aesthetically to your home. If you’re considering installing new hardwood flooring, it is important to know what to expect throughout the installation process.
In this post, we will outline what to expect during a professional hardwood floor installation. We will go over the timeline, materials, installation steps and more.
Let’s begin.
What Are the Different Types of Hardwood Flooring?
Before we get into the nitty-gritty of hardwood floor installation, let’s take a look at the different types of hardwood flooring available.
The two main types of hardwood flooring are solid hardwood and engineered hardwood.
Solid hardwood is made from solid pieces of wood, usually cut into long strips or planks. Solid hardwood comes in both unfinished and prefinished varieties and can be sanded and refinished multiple times.
Engineered hardwood is made with a multi-layered construction, with a core made up of hardwood, plywood or high-density fiberboard and a top layer of hardwood veneer. This type of flooring is more stable and can be installed in all kinds of environments.
The type of hardwood flooring you choose will depend on your budget, lifestyle and design preferences.
Prep Work Before the Installation
Prior to the start of hardwood floor installation, the space must be prepped for the work. This includes preparing the subfloor (if needed), moving furniture, clearing the area of any debris, and making any necessary repairs. It’s best to have all of this done as soon as possible, as the installation cannot start until all of the prep work is finished.
The Timeline of Installing Hardwood Flooring
Once the prep work is complete, the actual installation of the hardwood flooring can begin. The timeline of hardwood floor installation is typically around two to four days, depending on the size of the space and any necessary preparation.
The first day of the installation is devoted to laying down the vapor barrier, underlayment, and any necessary transitions and trim.
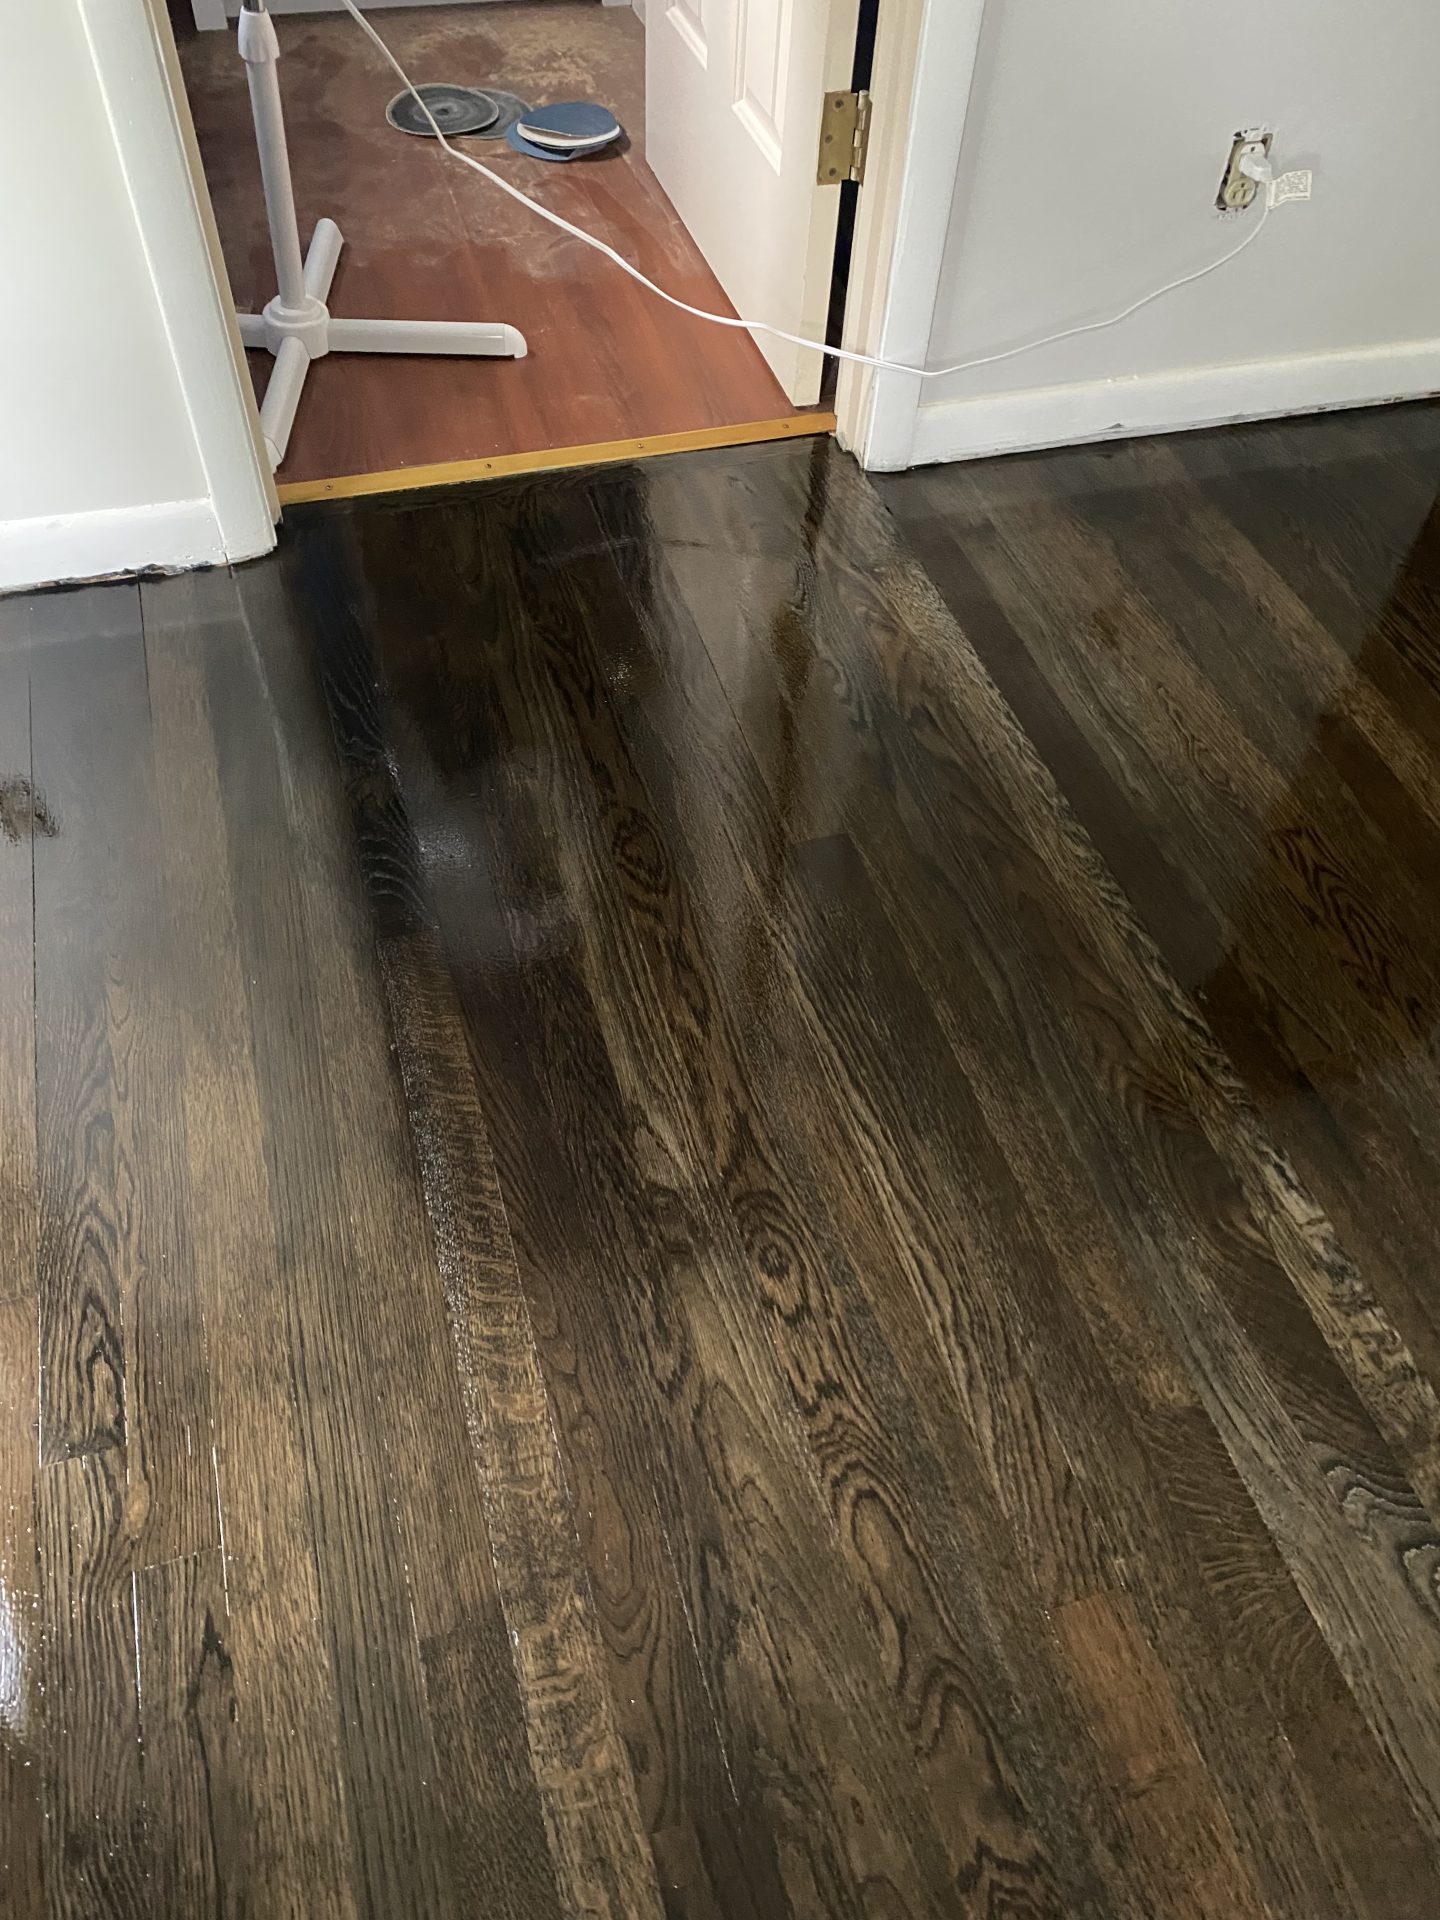
On the second day, the hardwood planks or strips are cut to fit, glued or nailed down, and then sanded and finished. If it is an unfinished hardwood, then the sanding and finishing can be done later.
On the third day, the hardwood planks or strips are installed and the sanding and finishing process can begin.
Finally, on the fourth day, the finishing touches are applied and the furniture is put back into place.
Materials Needed for Installing Hardwood Flooring
Hardwood flooring installation requires a few materials to get the job done. These materials include:
• Vapor barrier.
• Underlayment.
• Hardwood planks or strips.
• Adhesive (if using glue instead of nails).
• Nails (if using nails instead of glue).
• Wood putty.
• Sander.
• Finishes (polyurethane, oil-based or water-based).
Steps to Installing Hardwood Flooring
Installing hardwood flooring can add a touch of elegance to any home. It’s no surprise that many homeowners choose to take the plunge when it comes to this stylish flooring option. Before committing to a professional hardwood floor installation, it’s important to understand the steps and process involved.
The first step of a professional hardwood floor installation is to prepare the subfloor. This may involve removing any existing flooring, filling in any uneven areas, and ensuring the subfloor is level. Once the subfloor is prepped, it’s time to choose a hardwood flooring material. Homeowners should consider factors such as their flooring budget, lifestyle, décor preferences, and room size before making a decision.
Next, it’s time to measure and cut the hardwood flooring. This is where an experienced contractor comes in handy, as they have the knowledge and skills to accurately measure and cut the flooring to fit the space perfectly. Once the wood is cut, the pieces should be laid with the tongues facing the wall.
The final step of professional hardwood floor installation is to install the flooring. This is done by either nailing or stapling the wood in place. Depending on the type of material being used, an adhesive may also be necessary to ensure the floor is firmly held in place. Once the installation is complete, the excess material should be removed, the space should be cleaned, and the room should be ready for use.
Professional hardwood floor installation can be a great way to upgrade any home. With the help of an experienced contractor, the process can be completed efficiently and with minimal hassle. Homeowners should be sure to understand the steps involved, from preparation to completion, in order to ensure the best results.
At Gramer Flooring, we offer professional hardwood floor installation services in Cincinnati, OH. We understand that installing new hardwood floors can be an intimidating process, so we are here to make the process easy and stress-free for you.
Our team of experienced technicians is highly skilled in assessing your flooring needs, providing quality workmanship, and using the latest tools and technology to complete your project. From the initial assessment to the final installation, our team is here to ensure your satisfaction. We will take the time to answer any questions you may have and ensure that the job is done right the first time.
Our goal is to provide you with a quality job that you can be proud of, and our dedication to customer satisfaction guarantees that you will receive the best possible service. If you are in the market for new hardwood floors, trust the experts at Gramer Flooring to provide quality hardwood floor installation services in Cincinnati, OH.
