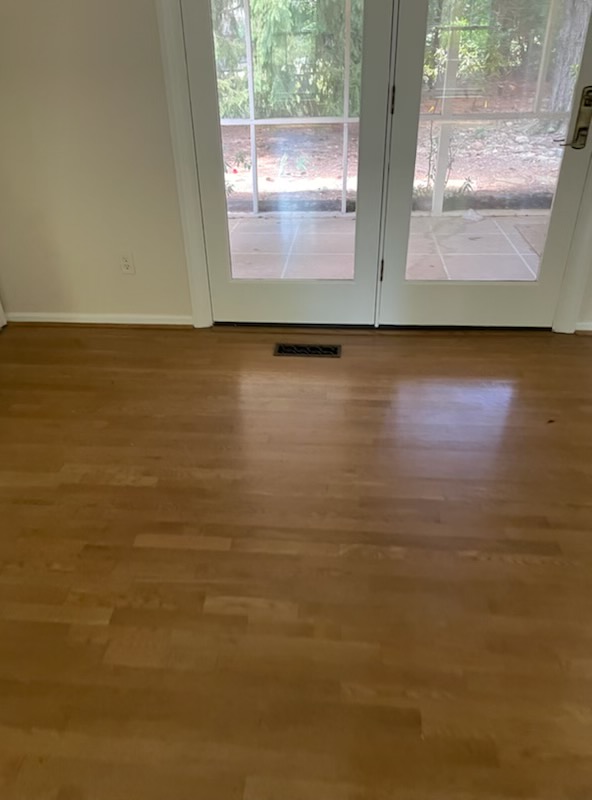
As the year draws to a close, many homeowners are considering ways to refresh and revitalize their living spaces. What better way to usher in the new year than with the timeless elegance of hardwood flooring? In this comprehensive guide, we’ll take you through the seamless process of hardwood flooring installation, emphasizing the importance of hiring professionals to ensure a flawless outcome.
Why Choose Hardwood Flooring?
Before delving into the installation process, let’s briefly explore why hardwood flooring is a perennial favorite. Hardwood floors not only exude a classic and sophisticated charm but also offer durability and easy maintenance. They provide a warm and inviting atmosphere while adding value to your property. With a variety of wood species, finishes, and styles available, hardwood flooring allows you to personalize your space to suit your taste and lifestyle.
The Need for Professional Installation
While the allure of a DIY project is tempting, hardwood flooring installation is best left in the hands of professionals. Here’s why:
Expertise Matters
Installing hardwood flooring is a specialized skill that requires knowledge of different wood types, subfloor conditions, and proper installation techniques. Professional installers bring years of experience to the table, ensuring that every plank is laid with precision.
Acclimation Is Key
Wood is a natural material that expands and contracts based on humidity and temperature. Professional installers understand the importance of acclimating hardwood flooring to its environment before installation. This critical step helps prevent issues like warping or buckling down the line.
Subfloor Preparation
A level and well-prepared subfloor are essential for a seamless hardwood flooring installation. Professionals assess the condition of the subfloor, making any necessary repairs or adjustments to guarantee a stable foundation for your new floors.
Time and Cost Efficiency
While a DIY project might seem cost-effective at first, the potential for mistakes can lead to added expenses for repairs or replacements. Professionals work efficiently, saving you time and money in the long run.
Step-by-Step Hardwood Flooring Installation
Now, let’s walk through the step-by-step process of installing hardwood flooring:
1. Preparation
- Clear the Space: Remove furniture, appliances, and any existing flooring to create a clean slate.
- Inspect Subfloor: Check for any damage or irregularities in the subfloor that may need addressing.
2. Acclimation
- Unbox the Flooring: Allow the hardwood planks to acclimate to the room’s conditions for at least 48 hours.
3. Subfloor Preparation
- Clean and Level: Ensure the subfloor is clean, dry, and level. Address any imperfections, such as bumps or depressions.
4. Moisture Barrier Installation
- Add a Moisture Barrier: Depending on your location, a moisture barrier may be necessary to protect the wood from humidity.
5. Layout and Design
- Plan the Layout: Strategically plan the arrangement of the planks for aesthetic appeal and to minimize waste.
6. Installation
- Start Installation: Begin laying the planks, ensuring a tight fit and staggered seams for stability.
- Use Professional Tools: Employ specialized tools like nailers and mallets for precise installation.
- Trim as Needed: Trim planks to fit the perimeter of the room and around obstacles.
7. Finishing Touches
- Install Baseboards: Complete the installation by adding baseboards or trim for a polished look.
- Inspect and Clean: Conduct a thorough inspection, cleaning any adhesive residue or dust.
Why End the Year with New Hardwood Floors?
As the year concludes, it’s an ideal time to invest in your living space. New hardwood floors not only enhance the aesthetic appeal of your home but also create a warm and inviting atmosphere for the holiday season. Picture celebrating with loved ones in a space that exudes both sophistication and comfort.
Elevate Your Home, Elevate Your Year
There’s something transformative about entering a new year with a refreshed and upgraded home. Hardwood flooring provides a solid foundation for positive changes and new beginnings. Consider it not just as an investment in your property but as a gift to yourself and your family.
Frequently Asked Questions
Q1: Can I install hardwood flooring over existing flooring?
A1: In some cases, yes. However, it depends on the type of existing flooring and its condition. Professional installers assess the situation to determine the best course of action.
Q2: How long does hardwood flooring installation typically take?
A2: The timeline varies based on factors like the size of the space, the type of hardwood, and any necessary subfloor preparation. On average, it may take a few days.
Q3: Are there eco-friendly hardwood flooring options?
A3: Absolutely. Many hardwood flooring options come from sustainable sources, and some are certified by organizations like the Forest Stewardship Council (FSC).
Q4: Can hardwood floors be installed in every room?
A4: While hardwood is a versatile flooring option, it may not be suitable for areas with high moisture, such as bathrooms. Consult with professionals to explore the best flooring options for each space.
Q5: How do I maintain my hardwood floors?
A5: Regular cleaning, avoiding excessive moisture, and using furniture pads can help maintain the beauty of your hardwood floors. Professional refinishing may be recommended periodically.
Transform your space and welcome the new year with the luxurious touch of hardwood flooring. For professional hardwood flooring services in Cincinnati, OH, contact Gramer Flooring at (859) 663-7678 or visit Gramer Flooring. Find us on the map: Google Maps. Cheers to a stylish and seamless new beginning!
